Drone videography techniques
Beyond the Hover: Mastering Aerial Motion
Static aerial photos have their place, but the true power of the drone lies in motion. A drone is not merely a flying camera; it is a three-dimensional dolly, jib, and Steadicam rig combined. For operators in the United States, transforming raw footage into cinematic gold requires a dual focus: mastering the physics of flight and adhering to the rigid safety parameters set by the Federal Aviation Administration (FAA).
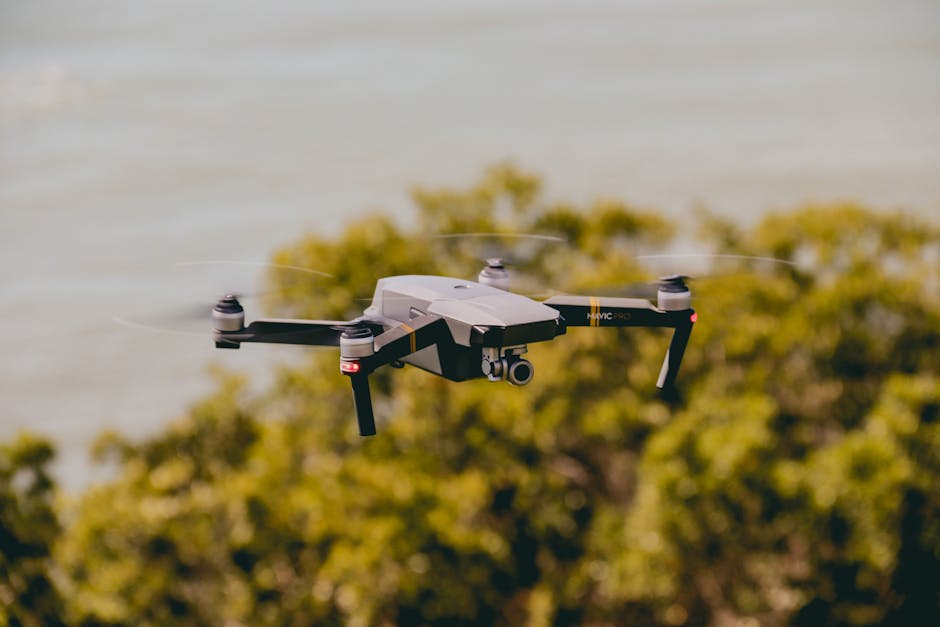
After years flying everything from the DJI Mavic 3 to the Inspire 2 over the varied terrain of California?from the congested airspace of Los Angeles to the remote wilderness of the Sierra Nevada?I have learned that smooth footage is rarely an accident. It is the result of precise planning, specific stick inputs, and a deep understanding of how air moves. This guide analyzes the core techniques that separate amateur "wobbly" footage from professional aerial cinematography.
The Regulatory Baseline for Cinematic Flight
Before discussing camera moves, we must address the legal environment. In the US, the ability to capture stunning footage is legally bound by 14 CFR Part 107. While the creative urge is to fly high and fast, the regulations dictate the boundaries of your canvas.
The most critical constraint for cinematic work is the 400-foot altitude ceiling. This rule often conflicts with the desire to capture vast establishing shots, particularly in flat terrain. However, the FAA is strict on this. Visual Line of Sight (VLOS) is another requirement that impacts technique; if you are flying a "Closer" shot through a forest a mile away, you are technically operating illegally under Part 107 without a waiver.
Data Point: According to FAA data, over 85% of reported drone incidents occur when operators exceed the 400-foot AGL (Above Ground Level) limit or fly beyond visual line of sight. For cinematography, this means your most ambitious shots are also your highest-risk operations. Always verify altitude using your drone's barometer and cross-reference with surrounding structures.
Understanding airspace classes is equally vital for the US pilot. Class B airspace surrounds major metropolitan areas like New York, Chicago, and LA. Flying in these zones requires specific authorization via LAANC (Low Altitude Authorization and Notification Capability). You cannot simply launch near LAX to get a skyline shot; you must request and receive authorization, which will restrict your altitude often well below the standard 400 feet.
Camera Settings: The Foundation of the Look
Technique means nothing if the image is not exposed correctly. Shooting video requires a different approach than shooting stills. The goal is motion blur that mimics the human eye, not the frozen frames of high-speed photography.
The 180-Degree Shutter Rule
To achieve natural motion blur, you must adhere to the 180-degree shutter rule. This dictates that your shutter speed should be double your frame rate.
- 24fps: Shutter speed at 1/48th or 1/50th second.
- 30fps: Shutter speed at 1/60th second.
- 60fps: Shutter speed at 1/120th second (ideal for slowing down footage in post).
The problem? Midday sun in places like Arizona or Nevada is harsh. At ISO 100 (the lowest native ISO for most drones), a 1/60th shutter speed will likely blow out your highlights. This is where Neutral Density (ND) filters become non-negotiable. They act as sunglasses for your lens, forcing the shutter to stay open longer to hit that correct exposure.
Pro Tip: Carry a variable ND filter (ND 2-400) in your kit. In the US, weather conditions change rapidly, especially when flying from shadowed areas (like city streets) to open sun (like beaches). A variable ND allows you to adjust exposure on the fly without landing to swap glass, keeping your shutter angle consistent throughout the maneuver.
Color Profiles and Dynamic Range
For commercial work, avoid shooting in the standard "vivid" color profile. While it looks good on a phone screen, it crushes detail in shadows and blows out skies. Shoot in a "Flat" or "Log" profile (D-Log, H.265, etc.). This preserves the maximum dynamic range, allowing you to grade the footage later. US s often feature high contrast?think of the white snow of Colorado peaks against dark pine forests. Log profiles are the only way to hold detail in both extremes.
The Six Core Movements of Aerial Cinematography
Professional drone video is built on six primary camera movements. Mastering these requires "smooth stick management"?a gentle touch on the controller rather than jerky inputs.
1. The Pedestal (Pure Vertical)
This is a straight lift or drop without horizontal movement. It mimics a crane shot. The key is to use the throttle gently. In the US, this shot is excellent for revealing the scale of infrastructure, such as rising up from the base of the Golden Gate Bridge to reveal the span.
2. The Reveal (The Top-Down Reveal)
Start with the camera pointing straight down (90 degrees). As you fly backward and upward, slowly tilt the gimbal up to the horizon. This is the classic "establishing shot" move. It works exceptionally well for real estate, revealing a property within its neighborhood context.
3. The Orbit (Point of Interest)
Flying in a perfect circle around a subject while keeping the subject in the center of the frame. This is technically demanding. You must coordinate yaw (rotation), throttle, and pitch simultaneously. Most modern drones have "Point of Interest" intelligent flight modes, but relying on automation can result in robotic motion. Manual orbits look more organic.
4. The Fly-By
Flying past a subject while keeping the camera locked on them. This increases parallax effect, giving a strong sense of depth and speed. It is a staple for automotive work or tracking athletes.
5. The Chase
Following a subject from behind. This is common in action sports. The challenge here is obstacle avoidance. In the US, many scenic byways have power lines?drone killers that are often invisible on FPV screens. Always scout a chase path manually before committing to the shot.
6. The Slider (Lateral Track)
Moving purely left or right with no forward or backward motion. This is difficult to achieve manually without drifting. It requires subtle yaw correction to keep the camera oriented correctly.
Advanced Maneuvers: The Cable Cam and Dolly Zoom
Once the basics are second nature, you can move to advanced techniques that add production value.
The Cable Cam Simulation
In Hollywood, a cable cam is a camera suspended on wires between two points. You can simulate this with a drone by picking two GPS points and flying a perfectly straight line between them, regardless of wind. This creates a hypnotic, gliding feel. Use "Waypoint" missions to execute this with mathematical precision, then manually override the speed wheel to control the pace of the travel.
The Dolly Zoom (Vertigo Effect)
Made famous by Alfred Hitchcock, this involves zooming in while flying backward (or vice versa) to keep the subject size constant while the background stretches. Since most consumer drones have prime lenses (fixed focal length), you must simulate this digitally in post-production or use a drone with optical zoom (like the Mavic 3).
- Set your drone to fly backward at a steady speed.
- Start zoomed in (telephoto).
- As the drone retreats, zoom out (wide).
This compresses the background, creating a disorienting, dramatic effect perfect for thriller or horror genres.
US Environmental Factors: Flying in Diverse Terrain
The United States offers arguably the most diverse flying conditions on earth, from the humid swamps of Florida to the arid deserts of Utah. Each environment demands specific technical adjustments.
| US Region | Primary Challenge | Technical Mitigation | Regulatory Note |
|---|---|---|---|
| Pacific Northwest (WA, OR) | High moisture, dense fog | Use hydrophobic lens filters; monitor for condensation on sensors. | Check Temporary Flight Restrictions (TFRs) for firefighting activity. |
| Desert Southwest (AZ, NV) | Extreme heat, rapid battery drain | Limit flight time to 15 mins; land on cool surfaces; avoid midday flights. | Watch for Military Operations Areas (MOAs) and restricted airspace. |
| Rocky Mountains (CO, MT) | High altitude, thin air, wind shear | Use high-power mode; reduce payload weight; avoid mountain peaks. | Check National Park Service bans?drones are prohibited in National Parks. |
| Gulf Coast (FL, LA) | Humidity, sudden storms | Check weather radar frequently; use corrosion-block spray on connectors. | High density of heliports; LAANC authorization often required. |
| Urban Northeast (NYC, Boston) | GPS multipath, interference | Switch to ATTI mode if GPS fails; rely on visual sensors. | Class B airspace is strict; zero tolerance for flying over crowds. |
The National Park Service Ban
A critical regulation specific to the US is the blanket ban on drone takeoff and landing within National Park Service boundaries. This includes iconic locations like Yosemite, the Grand Canyon, and Yellowstone. Many pilots attempt to fly from just outside the boundary, but the NPS has interpreted the regulation to prohibit operating from NPS lands. You can legally fly *into* the airspace from adjacent private or BLM (Bureau of Land Management) land, provided you have permission from the landowner. This is a common workaround for capturing footage of US landmarks, but it requires meticulous legal verification.
Data Point: Since 2014, the National Park Service has reported over 1,000 unauthorized drone incidents. Penalties include fines up to $5,000 and 6 months in jail. For commercial operators, the risk to your Part 107 license is significant. Always verify land jurisdiction using the USGS topographic maps before launching near protected areas.
Wind Management: The Invisible Enemy
Wind is the primary cause of "jello" effect (rolling shutter distortion) and jerky footage. When wind speed approaches half your drone?s maximum speed, the drone struggles to maintain position, resulting in micro-corrections that ruin the smoothness of a shot.
In the US, wind conditions are often localized. For example, flying in the "canyons" of a city like Chicago creates a wind tunnel effect where ground speed is low, but gusts between buildings can exceed 30 mph.
Pro Tip: Use the "Tree Method" for wind assessment. If small branches are moving (0-5 mph), you are safe for all cinematic moves. If small trees are swaying (10-15 mph), stick to wide, slow shots. If larger branches are moving (15-20 mph), consider aborting the shoot. Never trust the weather app implicitly?always launch, hover at 10 feet, and check the "Wind Speed" warning in your app before committing to the shot.
Storytelling and Shot Sequencing
Technique without purpose is just noise. The best drone pilots are aerial cinematographers, meaning they shoot to edit. You should never land with just one shot of a location. You need a "scene."
The standard sequence for a location involves three specific focal lengths:
- The Wide Shot (Establishing): Sets the geography. Shows where we are.
- The Medium Shot (Context): Shows the subject in relation to the environment.
- The Close-Up (Detail): Focuses on the specific subject or texture.
By capturing these three angles, you provide an editor (or yourself) with the material needed to cut a sequence that holds viewer attention. A 30-second continuous shot is boring; a 10-second sequence of Wide -> Medium -> Close is compelling.
The "Reveal" Logic
When planning your shots, think about information. Good video controls what the viewer sees and when they see it. A "Reveal" shot works because it withholds information (the subject) until the right moment.
"The drone is not a helicopter. A helicopter moves the camera through space. A drone moves the camera *with* space. Treat the air as a solid track, and your footage will lose the 'drone wobble' that plagues amateur work." ? Alex Rivera
Post-Processing Workflow for US Pilots
Shooting is only half the battle. For US commercial work, the standard deliverable is often 4K, color-graded footage.
Stabilization
Even with perfect flying, micro-vibrations occur. Software like DaVinci Resolve or Adobe After Effects offers "Warp Stabilizer." However, be conservative. Over-stabilization creates a "wobbly" look. If you are shooting in high wind, use a higher frame rate (60fps) and slow it down in post. The slower playback reduces the visible impact of vibration.
Color Grading American s
US light is distinct. The "Golden Hour" (the hour after sunrise and before sunset) is prized for a reason. The low sun angle scatters blue light, leaving warm reds and oranges. When grading footage shot during midday US sun, you will often need to cool the white balance slightly to counter the harsh yellow cast of the sun. For footage shot in overcast conditions (common in the Pacific Northwest), boost contrast and saturation to mimic the look of a clear day.
Safety Checklists and Emergency Procedures
Professionalism is defined by how you handle failure, not success. In the US, where litigation is a real risk, having a documented safety protocol is essential for liability protection.
The Pre-Flight Checklist
- Airspace Check: Verify TFRs via FAA B4UFLY app or Aloft.
- Weather: Check wind, visibility, and precipitation.
- Battery: Check cell voltage balance and temperature.
- Propellers: Inspect for chips or cracks.
- Compass: Verify calibration; check for magnetic interference.
- Gimbal: Verify free movement; check for horizon level.
- SD Card: Verify formatted and has free space.
- Return to Home: Set appropriate altitude (above obstacles).
Emergency Protocols
What do you do when you lose signal? The default "Return to Home" (RTH) is a lifesaver, but it must be configured correctly. In urban environments, a straight-line RTH might fly the drone into a building. Set the RTH altitude to at least 50 feet higher than the tallest structure in your immediate vicinity.
Data Point: The FAA's Part 107 test has a 92% failure rate on the first attempt for questions regarding weather theory and airspace classification. Do not rely solely on your practical flying skills; your legal knowledge protects your business. Re-certification is required every 24 months.
Conclusion: The Professional Edge
Mastering drone videography is a loop of planning, flying, analyzing, and refining. The US context adds layers of complexity?strict airspace rules, diverse and challenging geography, and a litigious culture that demands rigorous safety standards. However, these constraints force creativity. By adhering to the 180-degree shutter rule, practicing smooth stick inputs, and shooting with a sequence in mind, you move beyond being a hobbyist with a gadget. You become an aerial cinematographer capable of capturing the American with the polish and precision required for commercial success.